 |
| polka dots everywhere! |
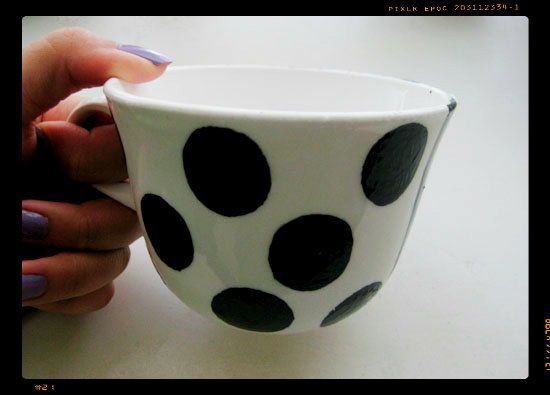
This was so much fun to do and surprisingly pretty easy! I think this is perfect to give as a gift or to do with the kids. Heck, I just did it for my own pleasure. Who wouldn't want to enjoy a nice cup of hot tea/coffee/chocolate during the colder months? And if they/you don't plan on drinking from it, these make awesome decorative pieces. Plus, the fact that it's homemade makes it extra special :)
I hope you enjoy!
What You'll Need
- a plain white ceramic or glass mug (I got a pack of 7 from the thrift store for only $3!)
- acrylic enamel or acrylic gloss paints (Gloss 95¢ Enamel $2 @Walmart. Enamel is preferred, but gloss is cheaper and works fine)
- Triple Thick Gloss Glaze ($3.99 @ Hobby Lobby)
- pencil
- paint brushes (general arts paint brush set $4.99 @ Walmart)
- newspaper or something to protect work surface
- painter's palette (plastic) or styrofoam plate for mixing paints
- water
Preparation
Set up workstation
1. Cover work area with newspaper or I used flattened cardboard.
2. Prep mugs by washing them with soap and water. Air dry. Wipe with alcohol to further eliminate residual oils. This will allow paint to really stick onto the mug and also make for a smooth surface.
3. Prepare a medium sized bowl or cup filled with water and a separate paper towel to keep brushes from getting stiff and paints moist on the palette.
Step 1 - Paint It Black

Paint half of the mug with black acrylic enamel or gloss paint.
Note. Since I'm doing a very simple design for this post, I'm painting straight on, but if you're planning on doing something more elaborate like flowers or animals, etc. I'd recommend drawing it on first with a pencil to help you out.
Should look like this after you're done. Your line will probably be straighter hehe. Allow to dry just enough, so it doesn't transfer by touch.
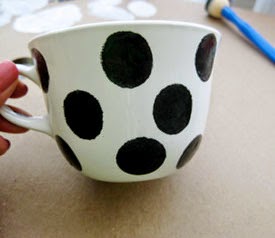
Step 2 - Polka Dots!
 Using a round foam brush, carefully press on polka dots (white on black/black on white). If they come out sloppy at first, you can touch them up with a separate pencil brush.
Step 3 - Air Dry
Let the mugs air dry for at least a few hours.
Let the mugs air dry for at least a few hours.

(Alternatively, you can force dry the paint by baking. Follow baking instructions on acrylic enamel paint bottle. Instructions may vary depending on brand)
Step 4 - Glaze

Brush on Triple Thick Gloss Glaze using one stroke technique.
Brush on Triple Thick Gloss Glaze using one stroke technique.
(One stroke from up to down over painted surface. Don't keep going back and forth over one area as you would with paint.) This glaze works best if you don't fuss around with it too much.
This step is so important. It will not only give your mugs that glossy, fired look, but will also protect the mug and keep the paint lasting longer.>
Special Notes
DISHWASHER SAFE top rack only (From experience, handwashing is preferred)
DO NOT MICROWAVE
Get Your Feast On!
